SpatialTrackerV2: 3D Point Tracking Made Easy
CAD&CG, Zhejiang University; University of Oxford; Ant Research; Pixelwise AI; Bytedance Seed
Yuxi Xiao, Jianyuan Wang, Nan Xue, Nikita Karaev, Iurii Makarov, Bingyi Kang, Xin Zhu, Hujun Bao, Yujun Shen, Xiaowei Zhou
Project Page | BibTeX | Google Drive
![]()
📰 Latest Updates & News
- [June 27, 2025]: SpatialTrackerV2 accepted by ICCV 2025
- [June 23, 2025]: Huggingface Space Demo launched! Try it out: 🤗 Huggingface Space
TODO List
- Release quick start of
SpaTrack2-offline - Final version of Paper at PAPER.md
- Release
SpaTrack2-online - Training & Evaluation Codes.
- More supports for other Depth Model, e.g.,
DepthAnything,StereoFoundation,UniDepth,Metric3D. Ceres Python Bindingsdesigned for SpatialTracker and Dynamic Reconstruction.
Set up the environment
To set up the environment for running the SpaTrack model, follow these steps:
-
Clone the Repository:
# clone the code git clone https://github.com/henry123-boy/SpaTrackerV2.git cd SpaTrackerV2 # optionally download the example data to run the examples # Note: This will slowdown the clonining process, as it includes large files. git submodule update --init --recursive -
Create a Virtual Environment: It's recommended to use a virtual environment to manage dependencies.
conda create -n SpaTrack2 python=3.11 conda activate SpaTrack2 -
Install Dependencies:
Install the torch dependencies
pip(tested withtorch2.4).python -m pip install torch==2.4.1 torchvision==0.19.1 torchaudio==2.4.1 --index-url https://download.pytorch.org/whl/cu124Install the required Python packages using
pip.python -m pip install -r requirements.txt
By following these steps, you should have a working environment ready to run the SpaTrack model.
Quick Start
Here are two examples of how to use SpaTrack2.
Type1: Monocular video as input (Example0)
python inference.py --data_type="RGB" --data_dir="examples" --video_name="protein" --fps=3
Type2: RGBD video + Camera poses as input (Example1)
We provide an example with Depth and Camera poses from MegaSAM.
First, download the examples via:
sh scripts/download.sh
Then run inference with the command with below:
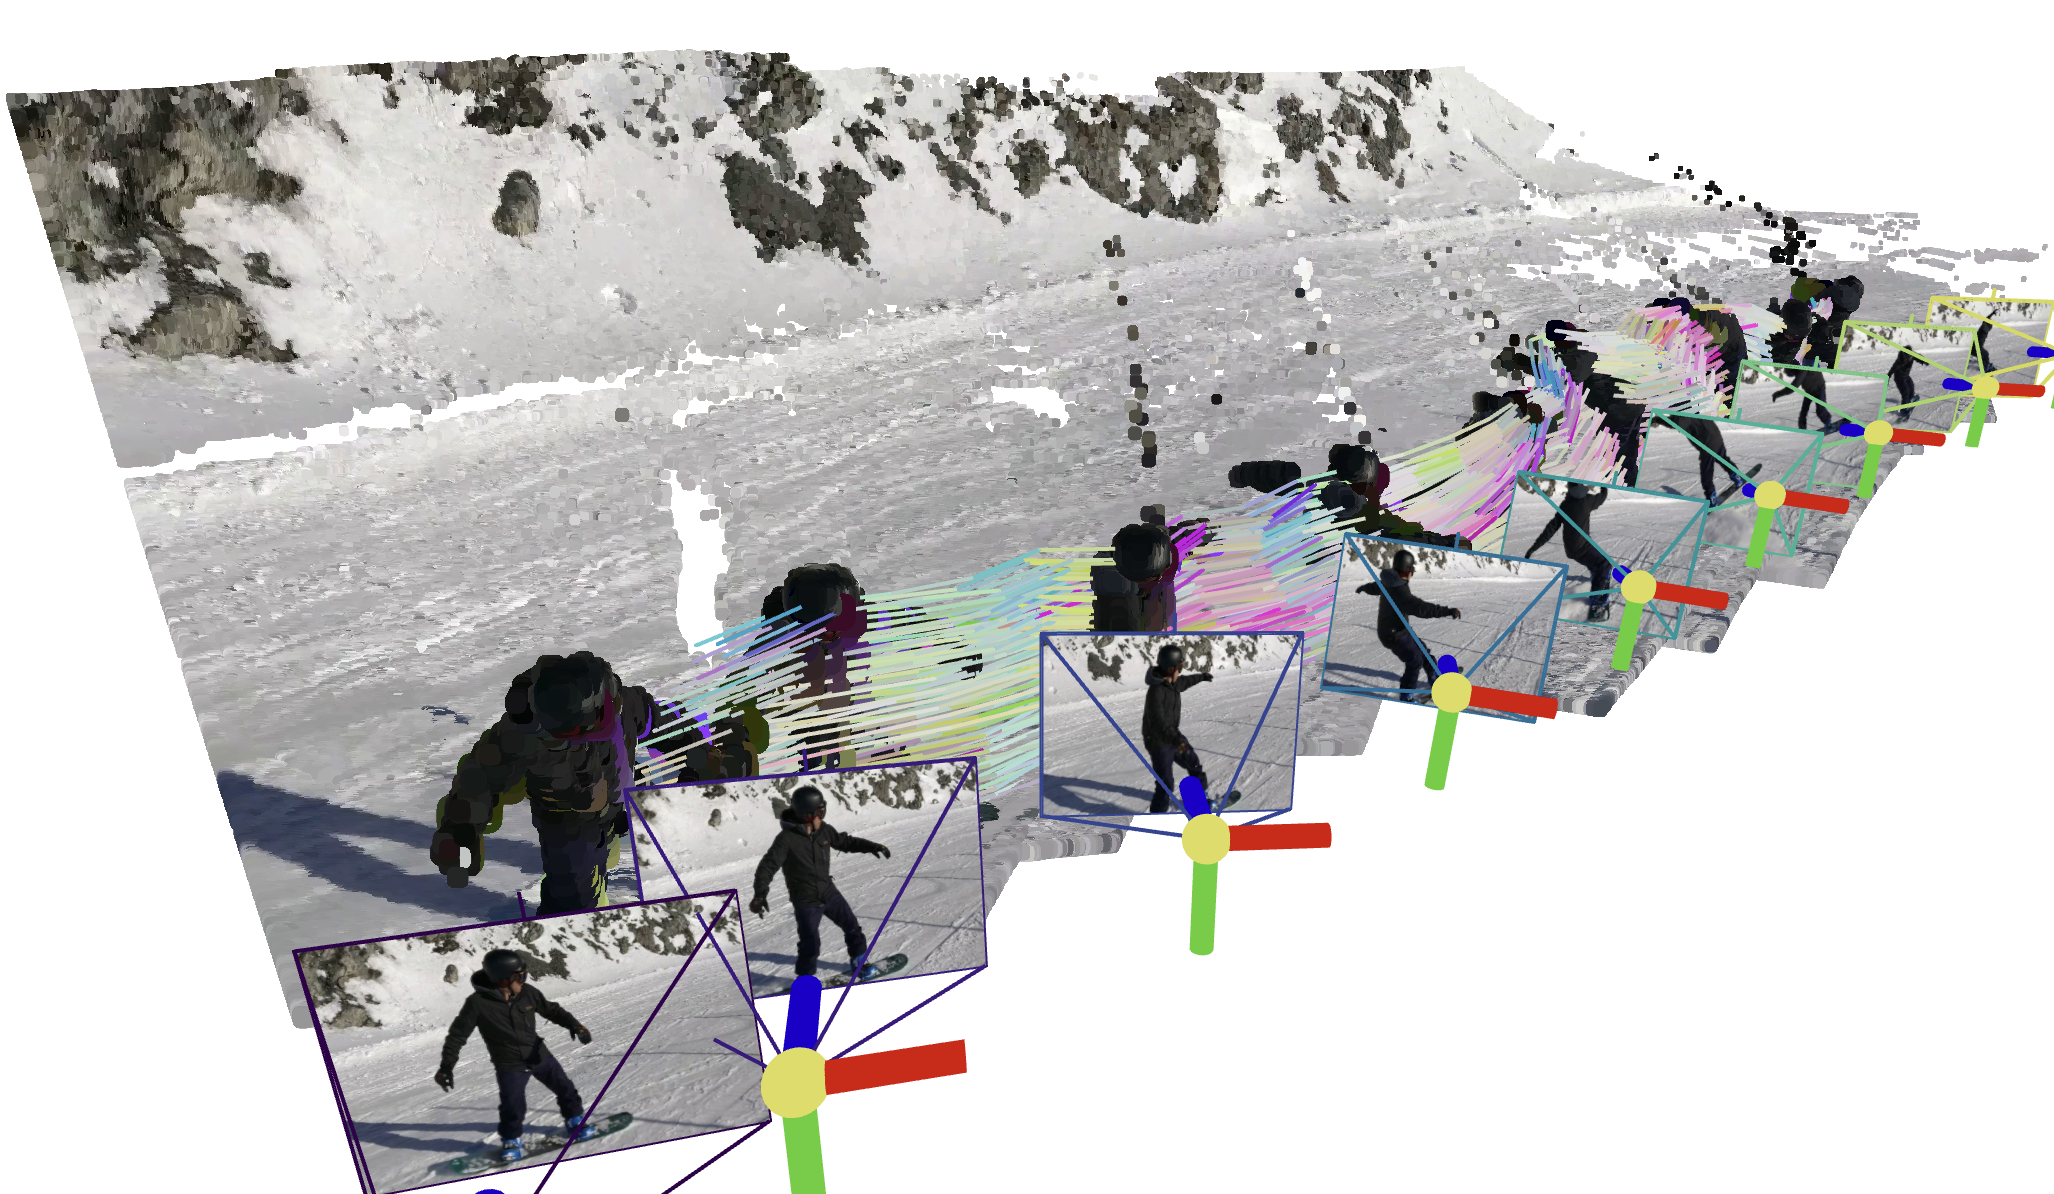
python inference.py --data_type="RGBD" --data_dir="assets/example1" --video_name="snowboard" --fps=1
Visualize your results
Guidance will be displayed in the terminal after running inference.py.
🌟 Recommended: Gradio Demo with SAM 🌟
Please follow the instructions in the app_3rd README to configure the dependencies. Then, install the required packages:
python -m pip install gradio==5.31.0 pako
Our Gradio demo enables users to easily track points on the target object. Just try:
python app.py